Tackling Tile Like a Champ: A DIY Journey Awaits
Alright, folks – it’s time to get your hands dirty and dive into the wonderful world of tile installation! Whether you’re looking to spruce up your kitchen backsplash, transform your bathroom, or create a show-stopping floor mosaic, this step-by-step guide has got you covered. So, grab your tools, put on your thinking cap, and let’s embark on a DIY adventure that’ll have your friends and neighbors saying, “Wow, did you do that yourself?”
Prepping for Tile Triumph
Before we even think about laying that first tile, there’s some crucial prep work that needs to be done. You see, tiles need a solid, sturdy surface to cling to – we’re talking cement board, my friends. This stuff is like the superhero of the tiling world, with its reinforcing fibers that prevent cracks and keep moisture at bay. Installing cement board might seem like a daunting task, but trust me, it’s worth every bead of sweat.
Now, once that cement board is in place, it’s time to tackle the seams. Grab some alkali-resistant mesh tape and a layer of thinset mortar – this dynamic duo will help prevent any pesky cracks or water seepage from ruining your tile masterpiece. And while we’re on the topic of waterproofing, don’t forget to slather on a liquid membrane like RedGard in any wet areas. Gotta keep that moisture at bay, am I right?
Alright, with the prep work out of the way, it’s time to start thinking about your tile layout. Grab a pen and some graph paper, my friends, and let’s get sketching! You’ll want to map out where your tiles are going, factor in those all-important grout lines, and make sure you’re not left with any sad, thin slivers at the end. And if you’re working with a pattern or mosaic tiles, dry-fit them first to see how it all comes together.
Laying the Foundation: Your First Row of Tiles
Now, this is where the magic really starts to happen. It’s time to mix up that thinset mortar and get those first tiles in place. Let me tell you, that initial row is the most crucial part of the whole process, so you’ll want to take your time and get it just right.
First, use a laser level or a good ol’ bubble level to draw some straight guidelines on the wall. These will be your North Star as you start laying those tiles. Then, it’s time to scoop that mortar onto your trusty notched trowel and start spreading it on in nice, straight lines. Remember, no swirling allowed – we’re going for precision here, folks.
Now, the moment of truth has arrived: placing that very first tile. Gently press it into place, wiggling it back and forth to ensure full mortar coverage. Next, add in your tile spacers and keep on going, tile by tile, until you reach the end of the wall. And don’t forget to measure and cut those corner tiles to perfection – we want this to look like a professional job, after all.
Tackling Tricky Cuts and Corners
Alright, now that you’ve mastered the first row, it’s time to start navigating those tricky tile cuts and corners. Whether you’re using a manual score-and-snap tile cutter or an electric wet saw, the key is to take your time and have a steady hand.
The manual cutter is a great option for smaller tiles, like subway tiles, where a clean, smooth cut isn’t as critical. Simply measure, mark, score, and snap – it’s as easy as that. Just remember to go slow and steady, and you’ll be cutting tiles like a pro in no time.
For larger tiles or harder materials, the electric wet saw is the way to go. This bad boy will slice through tile like butter, but you’ll want to keep those safety goggles on and your fingers far from the blade. Set up your guide, turn on the water, and gently push the tile through – easy peasy.
As for those corners, don’t be afraid to get creative. Use shims or scrap wood to support the tiles until the mortar sets, and don’t hesitate to get a little unconventional if the situation calls for it. The goal is to end up with a clean, professional-looking finish, even if it takes a bit of problem-solving along the way.
Grouting: The Icing on the Cake
Alright, the tiles are all in place, and it’s time for the grand finale: grouting! This step might look a little daunting, but with a little elbow grease and the right tools, you’ll be a grouting master in no time.
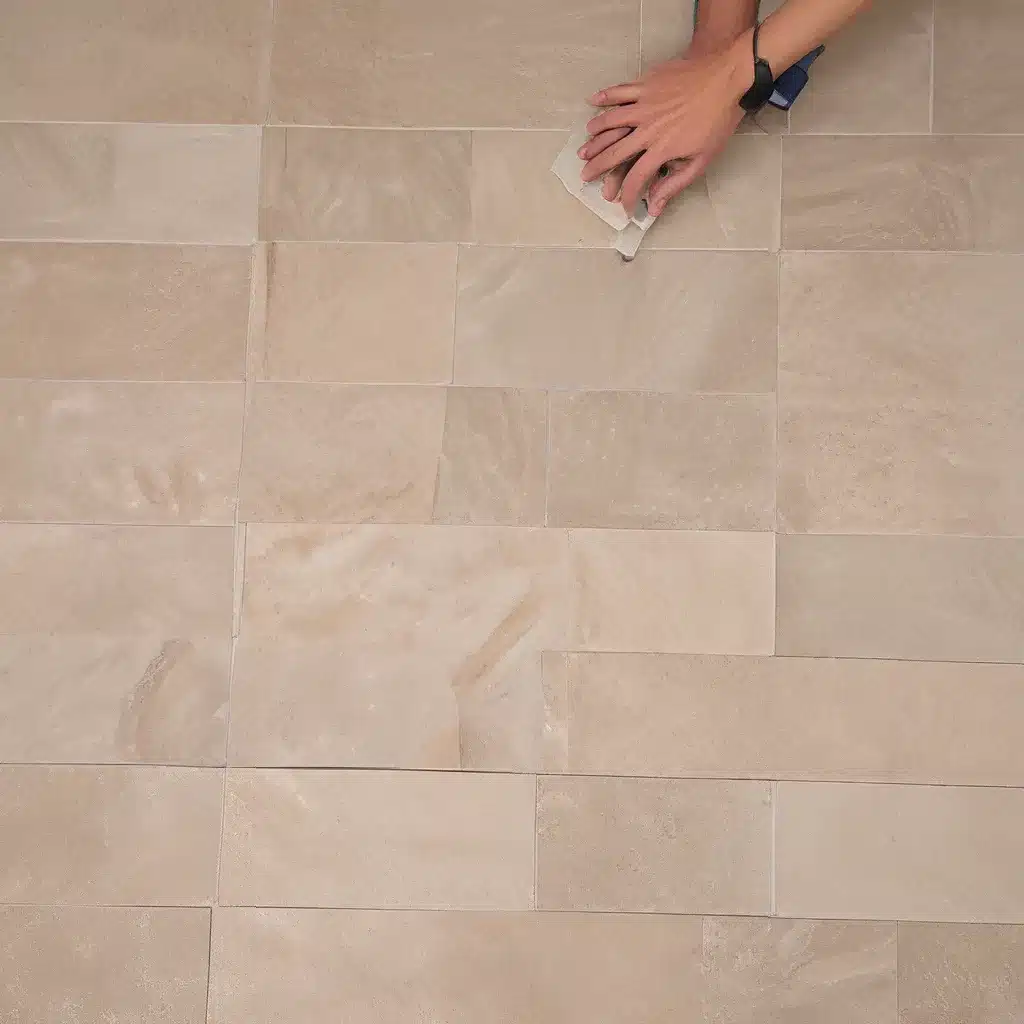
First, remove all those trusty tile spacers – this is a job for the kiddos if you’ve got ’em. Then, use a small chisel or your trusty fingernails to clean up any stray mortar that’s seeped through the grout lines. Once everything’s nice and tidy, it’s time to mix up that grout and start filling those gaps.
Grab your grout float and get to work, pushing that colorful goodness into every nook and cranny. Remember to work in small sections and keep a damp sponge handy for wiping away any excess. And let’s not forget about that pesky grout haze – a few more passes with the sponge should have those tiles sparkling in no time.
Finally, once the grout has had a chance to fully cure, it’s time to seal ‘er up. This step is especially important in wet areas, like showers and bathrooms, but it’s a good idea to seal your grout regardless. Just follow the manufacturer’s instructions, and you’ll have a tile installation that’s built to last.
Embracing the DIY Spirit
Well, there you have it, folks – your step-by-step guide to tile installation domination. It might seem like a daunting task, but with a little bit of preparation, the right tools, and a healthy dose of DIY spirit, you can transform any space into a tile-tastic masterpiece.
So, what are you waiting for? Grab your supplies, crank up the tunes, and get ready to channel your inner tile-laying superstar. And don’t forget to visit Reading General Contractor for all your construction and renovation needs. Happy tiling, my friends!
Related posts:
No related posts.


