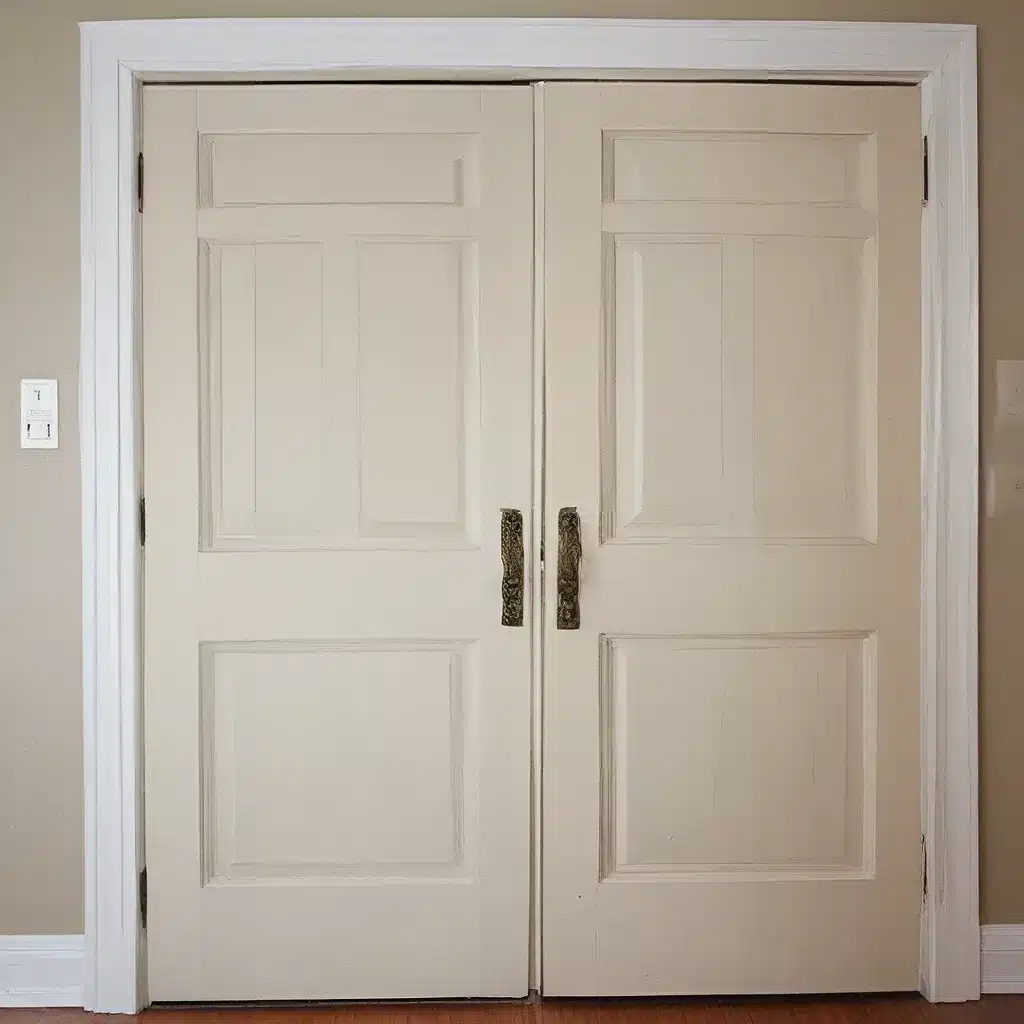
Reviving Outdated Doors: DIY Refacing and Refinishing
Uncovering the Hidden Gem: A Door Restoration Journey
Have you ever stared at an old, worn-out door and wondered, “Is there a way to breathe new life into this?” Well, my friends, the answer is a resounding yes! As a self-proclaimed DIY addict and the proud owner of a 125-year-old Victorian home, I’ve taken on my fair share of door restoration projects, and let me tell you, the results are nothing short of magical.
It all started when I decided to tackle the two painted doors in our nursery. Now, I know what you’re thinking – “Painted doors? How hard can it be?” Well, let me tell you, these doors had been through the ringer. Layer upon layer of paint, and not just any paint, but the kind that seems to cling on for dear life, like a toddler refusing to let go of their favorite toy.
I’ll admit, when I first saw the doors, I was a bit intimidated. The thought of stripping off all that paint, sanding, and then restoring the wood to its former glory seemed like a daunting task. But then, I remembered the wise words of my grandpa, who always said, “If it were easy, everyone would be doing it.” So, I rolled up my sleeves, donned my trusty mask and protective gear, and got to work.
Through trial and error, I discovered that the quickest way to remove the paint was to scrape it while it was dry. The different-shaped blades in my trusty scraper set allowed me to get into all the nooks and crannies, peeling off layer after layer of stubborn paint. But let me tell you, this was no walk in the park. It was a sweaty, dusty, and, at times, back-breaking endeavor, but the end result was well worth it.
As I sanded and scrubbed with steel wool and mineral spirits, the true beauty of the wood began to emerge. I couldn’t believe my eyes – the rich, warm tones and intricate grain patterns that had been hidden under all that paint were finally revealed. It was like uncovering a hidden gem, and let me tell you, the excitement was palpable.
Mastering the Art of Refinishing
With the hard part behind me, it was time to move on to the fun part – the refinishing. Now, I know what you’re thinking, “Fun? Really?” But trust me, when you see the transformation, it’s nothing short of exhilarating.
I decided to go with a classic stain to match the existing untouched door in the room. Using a rag and some Minwax Early American, I carefully applied the stain, rubbing it in and wiping away the excess. The result was a beautiful, uniform finish that seamlessly blended with the existing door.
But the journey didn’t end there. Oh no, my friends. The final step was to apply a coat of polyurethane, sealing in that stunning new look and protecting the doors from the ravages of time and wear. I’ll admit, I was a bit nervous about this part, but with a little practice and some trusty cheap paint brushes, I was able to achieve a smooth, professional-looking finish.
As I stood back and admired my handiwork, I couldn’t help but feel a sense of pride and accomplishment. These doors, once tired and worn, were now rejuvenated, their natural beauty shining through for all to see.
Embracing the Imperfections: The Beauty of Vintage Doors
Now, I know what you’re thinking – “But what about those pesky little imperfections?” Well, my friends, let me let you in on a little secret: those imperfections are what make these doors truly special.
These doors are over a century old, and they’ve got the scars to prove it. The occasional white spot where I had to use wood filler, the subtle variations in the stain – these are the marks of a life well-lived, a history that can’t be replicated. And you know what? I wouldn’t have it any other way.
At the end of the day, the goal of reviving these doors isn’t to create a pristine, flawless finish. It’s about honoring the past, celebrating the character and charm that only vintage doors can possess. And let me tell you, there’s something truly special about running your hand over the smooth, refinished wood, knowing that you’ve breathed new life into a piece of history.
Embracing the Challenge: A DIY Journey for the Brave
Now, I know what you’re thinking – “This all sounds great, but is it really worth the hassle?” And to that, I say, “Absolutely!” Sure, it’s not the easiest project in the world, but the sense of accomplishment and the joy of seeing those doors come back to life is unparalleled.
If you’re feeling brave and you’ve got a bit of elbow grease to spare, I highly encourage you to give this a try. And trust me, even if you’re not the handiest person on the block, with a little determination and a willingness to learn, you can tackle this project and come out the other side with a sense of pride and a whole lot of bragging rights.
So, what are you waiting for? Grab your scraper, your sandpaper, and your trusty stain – it’s time to revive those outdated doors and give them the second lease on life they deserve. Trust me, the journey may be a bit messy, but the end result will be nothing short of magical.
Related posts:
No related posts.


