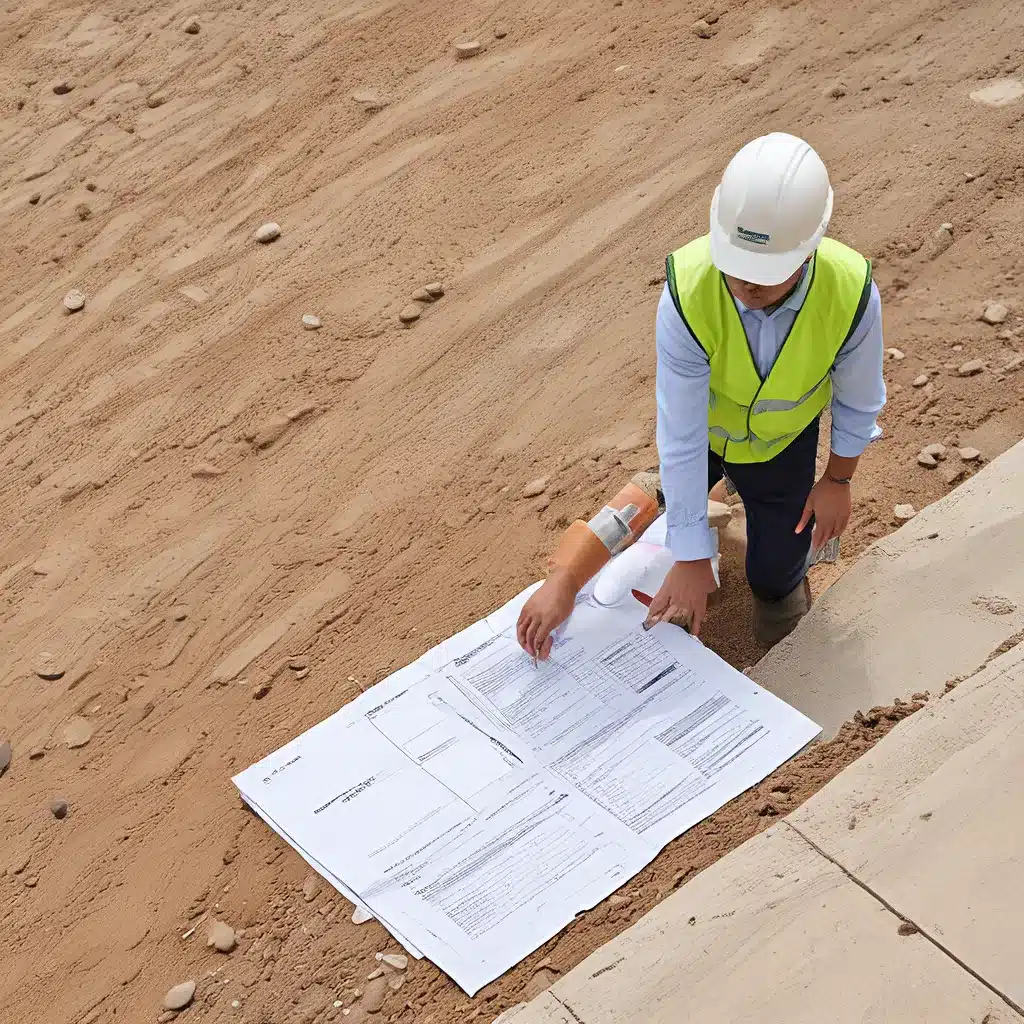
Ah, the joys of home improvement! You’ve got the vision, the motivation, and the toolkit – all you need now is the green light from your local authorities. That’s right, I’m talking about permits, the often-dreaded but oh-so-necessary part of any renovation or construction project.
Understanding the Permit Process
Now, I know what you’re thinking – permits, schermits. Why do I need to jump through all these hoops just to install a new backsplash or add a sunroom? Well, my friend, the permit process is actually there to protect you, your home, and your community. Think of it like a secret handshake with the construction gods – if you don’t get it right, you could be facing some serious consequences down the line.
You see, permits ensure that your project meets all the necessary safety and building code requirements. Imagine if you skipped the permit and then your new addition collapsed or your wiring caused a fire. Yikes! The permit process is there to catch these issues before they become a problem. And trust me, you don’t want to be the talk of the neighborhood for all the wrong reasons.
Navigating the Permit Application
Alright, now that we’ve established the importance of permits, let’s dive into the nitty-gritty of actually getting one. It’s a bit like navigating a maze, but with the right guidance, you can make it through without too much stress.
Step 1: Determine What Permits You Need
The first step is to figure out exactly what permits you need for your project. This can vary depending on your location, the scope of your project, and the type of work you’re doing. Some common permits include building permits, electrical permits, plumbing permits, and mechanical permits.
To get a clear picture of your specific requirements, I’d recommend reaching out to your local building and permitting department. They’ll be able to give you a rundown of the necessary paperwork and help you understand the process.
Step 2: Gather the Required Documentation
Once you know what permits you need, it’s time to start gathering the required documentation. This typically includes things like project plans, drawings, and specifications. Depending on the scope of your project, you may also need to submit proof of insurance, a site plan, and a list of subcontractors.
Step 3: Submit Your Application
With all your ducks in a row, it’s time to submit your permit application. Depending on your local regulations, you may be able to do this online, by mail, or in person. Be sure to pay any required fees and provide any additional information the permitting office requests.
Now, I know what you’re thinking – “But I don’t want to wait months for my permit to get approved!” And I hear you, nobody likes the permit process to drag on. The good news is that there are often ways to expedite the process, like paying a rush fee or working with a permit expediting service.
Navigating the Inspection Process
Alright, you’ve got your permit in hand – now what? Time for the inspection process! This is where the authorities come in to make sure your project is being done to code and to their standards.
Step 1: Schedule Your Inspections
Depending on the scope of your project, you may need to schedule multiple inspections at different stages. Common inspections include foundation, framing, electrical, plumbing, and final inspections. Make sure you understand the timeline and schedule your appointments accordingly.
Step 2: Prepare for the Inspections
When the inspector arrives, they’ll be looking for a few key things: compliance with the approved plans, adherence to local building codes, and proper safety practices. To make sure you sail through, double-check your work, tidy up the worksite, and have all necessary documentation on hand.
Step 3: Address Any Issues
Now, don’t freak out if the inspector finds a few issues – this is all part of the process. They’re there to help you, not trip you up. Just listen to their feedback, make the necessary corrections, and schedule a re-inspection. With a little elbow grease, you’ll get that final sign-off in no time.
The Benefits of Permit Compliance
I know, I know – the permit process can be a real headache. But trust me, it’s worth it in the long run. Not only does it protect you and your home, but it can also add value to your property and give you peace of mind.
Think about it – if you ever decide to sell your home, having all the proper permits and inspections on file will show potential buyers that your renovations were done right. And let’s not forget the insurance implications – if disaster strikes and you don’t have the necessary permits, your coverage could be void.
So, my advice? Embrace the permit process, lean on the experts at your local building department, and enjoy the satisfaction of a job well done – both for your home and your peace of mind. Trust me, it’s worth the effort.
Related posts:
No related posts.


