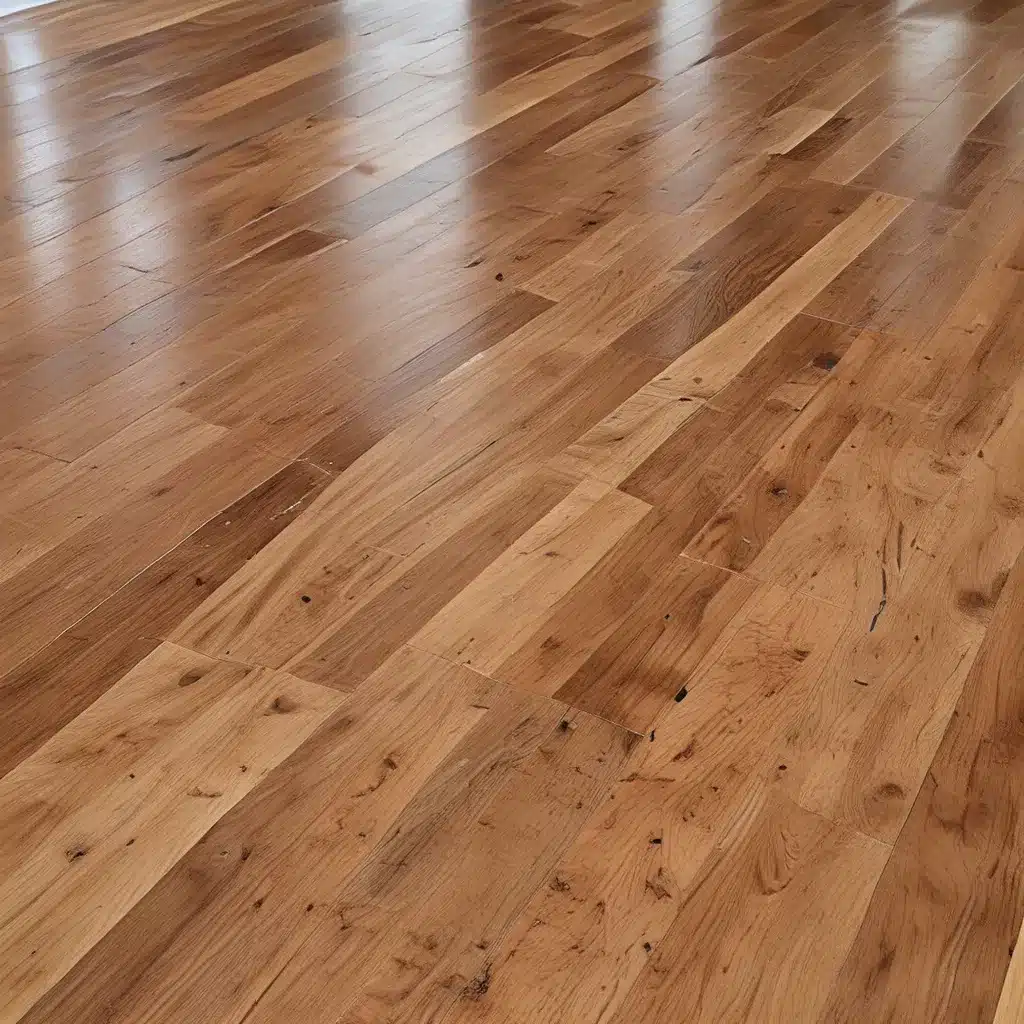
Ah, the ageless beauty of hardwood floors – a timeless treasure that can transform any space into a veritable work of art. But what if your once-gleaming floors have lost their luster, leaving you feeling like the enchantment has faded? Fear not, my friends, for I’m about to let you in on the secrets of Mastering the Art of Hardwood Floor Refinishing.
The Preparation Phase: Laying the Foundation for Perfection
Before we dive headfirst into the exhilarating world of refinishing, let’s take a moment to ensure we have all our ducks in a row. After all, as the old saying goes, “Proper preparation prevents poor performance.”
First and foremost, it’s time to clear the area like a seasoned stage manager. Imagine your living room as the grandest of theatrical productions – you wouldn’t want any stray props or unwitting actors disrupting the show, would you? Meticulously remove every last piece of furniture, leaving the floor as bare as a newborn babe. This not only allows for unobstructed access but also gives you a clean slate to work with.
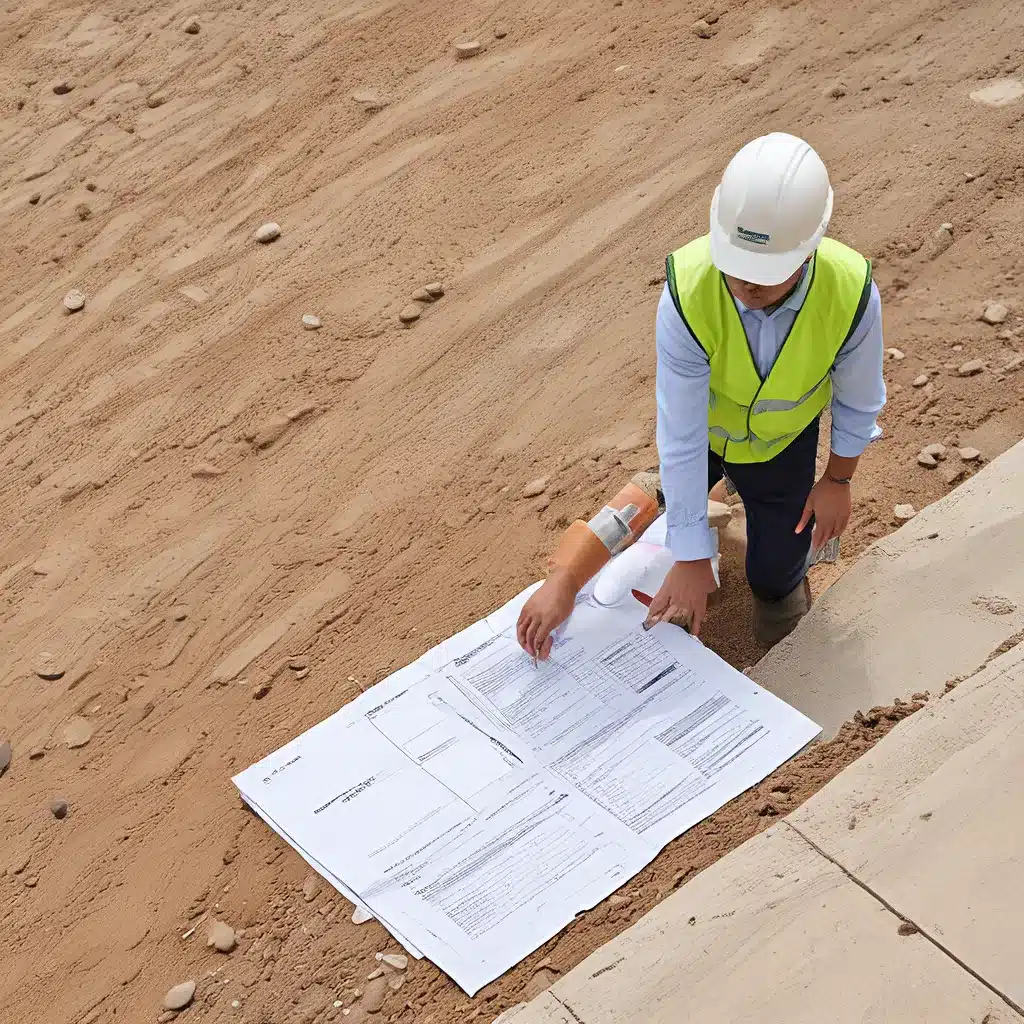
Now that the stage is set, it’s time to break out the trusty tape measure and get to work. Precision is the name of the game when it comes to hardwood floor refinishing, so measure every nook and cranny with the utmost care. Trust me, those extra few minutes spent ensuring accurate dimensions will pay off tenfold when it’s time to lay down the new flooring.
But our preparations don’t end there, oh no! It’s time to closely inspect that trusty subfloor, the foundation upon which our hardwood masterpiece will rest. Carefully scan for any cracks, dips, or imperfections that could throw a wrench in our plans. Remember, a strong subfloor is the key to a flawless final result, so address any issues with the same diligence you’d use to prepare a gourmet meal.
Sanding: The Symphony of Smooth Surfaces
Alright, now that the groundwork has been laid, it’s time to dive into the heart of the refinishing process – sanding. Imagine this as the conductor’s baton, leading a symphony of wood, dust, and elbow grease to create a masterpiece.
First, you’ll want to start with a coarse-grit sandpaper, like 36-grit, to tackle the heavy-duty work. Picture a master sculptor chipping away at a block of marble, slowly revealing the exquisite form beneath. This initial pass will remove any stubborn stains, scratches, or uneven patches, setting the stage for a smooth, even surface.
Next, it’s time to graduate to a medium-grit, such as 60-grit, to refine the surface. It’s like going from a jackhammer to a delicate chisel, meticulously shaping the floor to perfection. Run the sander in the direction of the wood grain, ensuring a seamless, natural flow.
Finally, it’s time for the grand finale – the fine-grit, 80-to-100-grit sandpaper. This is where the magic really happens, transforming the floor from a rough-hewn block to a shimmering, silky-smooth canvas. Imagine a virtuoso violinist coaxing the most delicate of melodies from their instrument – that’s the level of finesse you’re aiming for here.
Sanding Grit Progression:

- 36-grit: Heavy-duty removal

- 60-grit: Surface refinement

- 80-100-grit: Final polishing
As you sand, be sure to take frequent breaks and thoroughly vacuum the area. After all, you don’t want to end up with a face full of sawdust, do you? And speaking of faces, don’t forget to protect your own with a trusty dust mask – safety first, friends!
Staining: Painting the Floor with Personality
Now that the floor is as smooth as a newborn babe’s bottom, it’s time to add a touch of personality with a stain. This is where you get to unleash your inner artist, transforming the canvas of wood into a masterpiece that reflects your unique style.
Will you opt for a rich, mahogany hue that exudes warmth and sophistication? Or perhaps a sleek, modern gray that oozes contemporary chic? The choice is yours, my friends, and the possibilities are endless.
When applying the stain, take your time and work in small sections. Imagine you’re a master painter, carefully brushing each stroke with the utmost precision. Start in the corner and work your way outward, ensuring every nook and cranny is evenly coated. And don’t be afraid to experiment – you can always sand and start over if the first attempt doesn’t quite hit the mark.
Once the stain has had ample time to soak in and dry, it’s time to give the floor a final sanding with the finest-grit paper. This will create a smooth, velvety finish that’s simply begging to be admired.
Sealing: The Grand Finale
Ah, the final act in our hardwood floor refinishing symphony – the sealing. This is where we’ll add the proverbial cherry on top, locking in all the hard work and transforming the floor into a veritable work of art.
There are a few options when it comes to sealants, each with their own unique benefits. You could go for a classic polyurethane, which offers a durable, high-gloss finish. Or perhaps a water-based variant, which dries quickly and has a more natural, matte appearance. The choice is yours, my friends, but whichever route you choose, be sure to apply it with the same meticulous care you’ve demonstrated throughout the entire process.
As you carefully brush on the sealant, imagine you’re a master painter, delicately layering each stroke to create a seamless, flawless surface. Take your time, work in small sections, and be sure to follow the manufacturer’s instructions to the letter. After all, you’ve come this far, and you don’t want to ruin the masterpiece now, do you?
Once the sealant has had ample time to dry, it’s time to step back and admire your handiwork. Gaze upon the gleaming hardwood, a true testament to your skill and dedication. Mastering the Art of Hardwood Floor Refinishing may have been a journey, but the end result is a floor that will captivate and delight for years to come.
So, my friends, what are you waiting for? Grab your tools, clear the space, and let’s get to work on creating the floor of your dreams. The stage is set, the symphony is ready, and the curtain is about to rise on a performance that will have your guests begging for an encore.
Related posts:
No related posts.


