As a general contractor, I’ve encountered my fair share of drywall challenges over the years. From uneven surfaces to unsightly seams, there always seems to be a hurdle to overcome when it comes to achieving that elusive, professional-grade finish. But fear not, my fellow construction enthusiasts! I’m here to share the secrets of mastering the art of drywall finishing, so you can transform your interiors into seamless, smooth masterpieces.
The Importance of Proper Drywall Finishing
Let’s start by addressing the elephant in the room: why is drywall finishing so darn important, anyway? Well, my friends, the answer is quite simple. Proper drywall finishing doesn’t just enhance the aesthetics of your walls and ceilings – it also ensures their long-term durability and structural integrity.
As the experts at Victoria Drywall put it, “When corners are not properly taped, they can become vulnerable to cracks, chips, and other forms of damage over time.” And who wants to deal with that headache, am I right? By perfecting your drywall finishing skills, you’ll be able to create strong, seamless joints that can withstand the test of time – and the occasional rambunctious toddler.
Gather Your Drywall Finishing Arsenal
Before we dive into the nitty-gritty of drywall finishing, let’s make sure you’ve got all the necessary tools and materials. After all, you wouldn’t try to build a house without a hammer and nails, would you? (Well, I suppose you could, but it would be a pretty chaotic endeavor.)
According to 3Way Drywall, some of the essential items you’ll need for drywall finishing include:
- Drywall tape (paper or fiberglass mesh)
- Joint compound (a.k.a. “mud”)
- Drywall knives (4-inch, 6-inch, and 12-inch)
- Corner tools (for inside and outside corners)
- Sandpaper or sanding sponge
- Trowel or mud pan
With these tools at the ready, you’ll be well on your way to achieving a seamless, professional-looking finish. Just remember, it’s not about the size of your tools (well, maybe a little), but how you use them.
Proper Preparation is Key
Alright, now that you’ve got your drywall finishing arsenal assembled, it’s time to get to work. But hold on a second, partner – before you start slathering on that joint compound, there’s an important step you can’t skip: preparing the drywall surface.
As 3Way Drywall explains, it’s crucial to ensure the drywall surface is clean, dry, and free of any dust or debris. Use a drywall sander or sanding block to smooth out any rough patches or imperfections, and then wipe down the surface with a damp cloth to remove any lingering particles.
Think of it this way: would you try to paint a wall without first washing it? Probably not – you’d end up with a bumpy, uneven finish that would make your eyes water. The same principle applies to drywall finishing. Take the time to properly prepare the surface, and you’ll be rewarded with a smooth, seamless outcome.
Mastering the Taping Technique
Alright, now that the drywall is prepped and ready, it’s time to tackle the first step in the finishing process: taping the joints. This is where the magic really starts to happen, my friends.
There are a couple of options when it comes to drywall tape: traditional paper tape or self-adhesive fiberglass mesh tape. While the fiberglass mesh tape may be a bit easier to work with, 3Way Drywall notes that paper tape is more affordable and suitable for most applications.
Regardless of which type of tape you choose, the key is to apply it with care and attention to detail. Embed the tape into a thin layer of joint compound, being careful to smooth out any bubbles or wrinkles. Remember, the goal is to create a seamless, uniform surface – so take your time and don’t be afraid to go back and touch up any problem areas.
Feathering the Edges for a Flawless Finish
Alright, now that the tape is in place, it’s time to start applying the joint compound. But wait, there’s a special technique you need to master to achieve that elusive, professional-grade finish: feathering the edges.
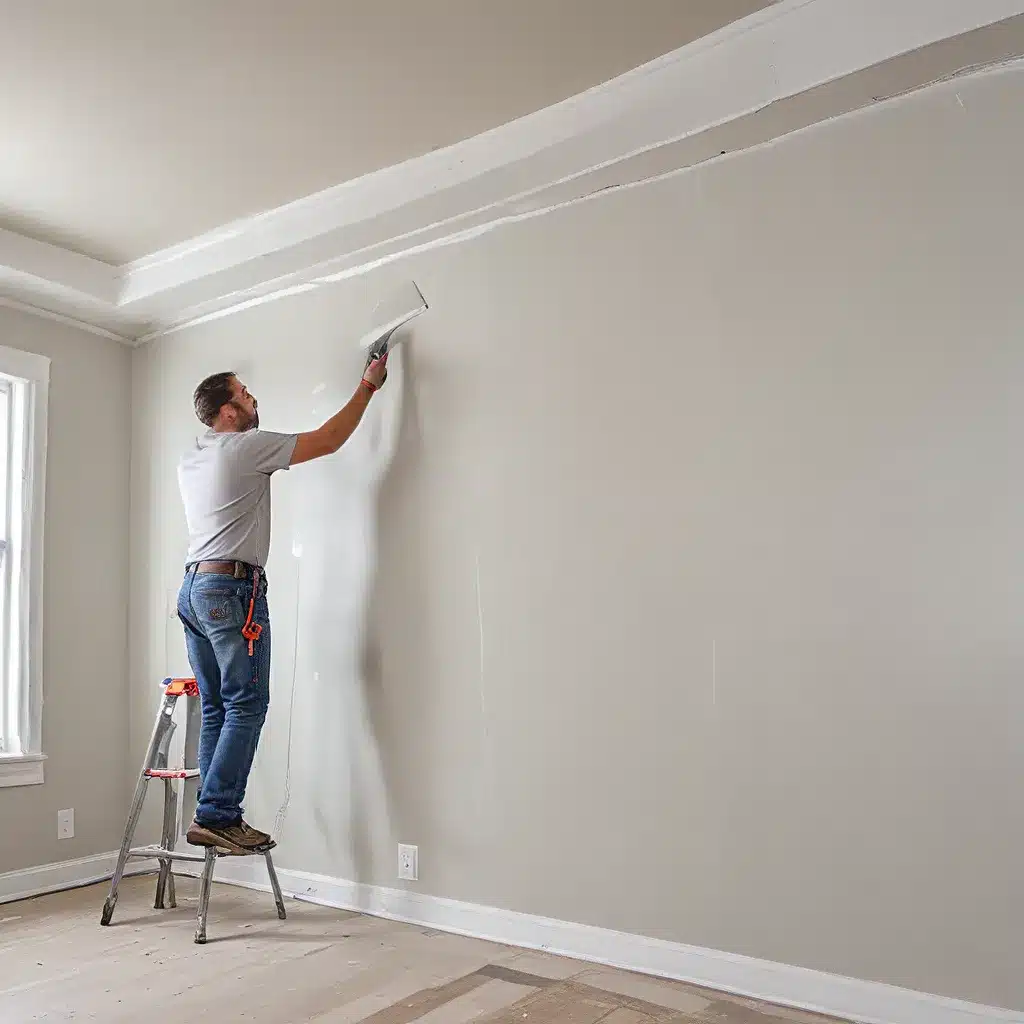
As the experts at Victoria Drywall explain, the key is to use a wide drywall knife to gently feather the edges of the joint compound, blending them seamlessly into the surrounding drywall. Apply multiple thin coats, allowing each layer to dry completely before sanding and applying the next.
Think of it like a gentle dance – you want to use long, smooth strokes to create a uniform, even finish. And when it comes to those tricky inside and outside corners, don’t be afraid to break out the corner tools to help you achieve that perfect, seamless look.
Sanding and Priming for the Final Touches
Alright, you’ve mastered the taping and feathering techniques, and now you’re ready for the final steps in the drywall finishing process. But don’t start celebrating just yet, my friends – there’s still work to be done.
First up: sanding. After each coat of joint compound has dried, it’s time to break out the sandpaper or sanding sponge and smooth out any remaining imperfections. Be careful not to sand too aggressively, though – you don’t want to damage the underlying drywall.
Once you’ve got a nice, smooth surface, it’s time to prime the drywall. This step is crucial, as it helps to seal the joint compound and provide a uniform base for the final paint job. As Victoria Drywall notes, “Choose a high-quality primer suitable for drywall and allow it to dry completely before applying paint.”
And there you have it, folks – the secret to achieving a seamless, professional-grade drywall finish. Of course, don’t forget to check out Reading General Contractor for all your drywall and general contracting needs. After all, they’ve got the expertise and experience to ensure your next project is a resounding success.
So, what are you waiting for? Grab your tools, put on your best drywall finishing hat, and get to work! With a little patience and a whole lot of elbow grease, you’ll be transforming those boring, flat walls into masterpieces of seamless beauty in no time.
Related posts:
No related posts.


