The Concrete Countertop Challenge: A Leap of Faith
When I first laid eyes on those sleek, modern concrete countertops at the home improvement store, I’ll admit, I was intrigued. But also a little intimidated. Could I really tackle such a complex DIY project, with zero prior experience working with concrete? As a self-proclaimed renovation enthusiast, I’ve tackled my fair share of home improvement tasks – from building custom shelves to refinishing floors. But concrete? That was uncharted territory.
Still, the allure of creating my own unique, durable countertop was too strong to ignore. I knew if I could pull this off, not only would I save a bundle compared to professional installation, but I’d end up with a one-of-a-kind surface that would truly make my kitchen or bathroom shine. So, with a deep breath and a steely determination, I decided to take the plunge into the world of DIY concrete countertops.
A Crash Course in Concrete Mastery
My first step was to dive headfirst into research. I scoured the internet, reading every tutorial and testimonial I could find. The wealth of information was both exciting and overwhelming. From mixing ratios to polishing techniques, there was a lot to wrap my head around. But one resource stood out among the rest – the Buddy Rhodes Catalog of Concrete Products and Techniques.
This comprehensive guide quickly became my concrete countertop Bible. Not only did it walk me through the entire process step-by-step, but it also introduced me to the high-quality Buddy Rhodes concrete products that would be the foundation of my project. Armed with their specialized mixes, tools, and expert advice, I felt a newfound confidence in my ability to tackle this challenge.
Perfecting the Mold
With my research complete and supplies in hand, it was time to get to work. The first and arguably most crucial step was building the mold for my countertop. This involved carefully measuring, cutting, and assembling a sturdy frame out of melamine boards. The attention to detail at this stage was paramount – any gaps or imperfections in the mold would be reflected in the final concrete pour.
As I meticulously sealed the seams and prepared the mold for the wet concrete, I couldn’t help but feel a flutter of excitement. This was it – the moment where my vision would start to take shape. But before I could get ahead of myself, I made sure to incorporate all the necessary details, like cutouts for plumbing fixtures and a smooth, uniform thickness throughout.
Mixing, Pouring, and Curing: The Concrete Dance
With my mold ready, it was time for the main event – mixing and pouring the concrete. Taking a deep breath, I donned my safety gear and got to work. Following the Buddy Rhodes instructions to the letter, I carefully combined the specialized concrete mix, pigments, and additives, aiming for that perfect, spreadable consistency.
As I scooped and plopped the concrete into the mold, I couldn’t help but feel a bit like a pastry chef, meticulously layering in the ingredients. But instead of a delicate cake, I was creating something far more durable and long-lasting. With each handful, I worked to eliminate any air bubbles, ensuring a smooth, uniform surface.
Once the mold was filled, I let the concrete work its magic, meticulously following the curing instructions to a T. After an agonizing 24-hour wait, it was time to unveil my creation. With a mix of excitement and trepidation, I carefully removed the mold, revealing the raw, unpolished concrete slab. To my delight, the corners were sharp, the edges clean, and the overall form exactly as I had envisioned.
Sanding, Sealing, and Shining: The Finishing Touches
Now came the fun part – transforming that rough concrete into a sleek, polished masterpiece. Armed with my trusty random orbital sander and a range of Buddy Rhodes abrasive pads, I set to work, methodically smoothing the surface. As I watched the shine gradually emerge, I couldn’t help but feel a sense of pride and accomplishment.
But my work wasn’t done yet. The next step was sealing the concrete to protect its porous surface and enhance the overall sheen. Following the Buddy Rhodes guide, I applied layer after layer of their specialized penetrating sealer and satin finish, letting each coat dry completely before moving on.
Admiring the Final Product
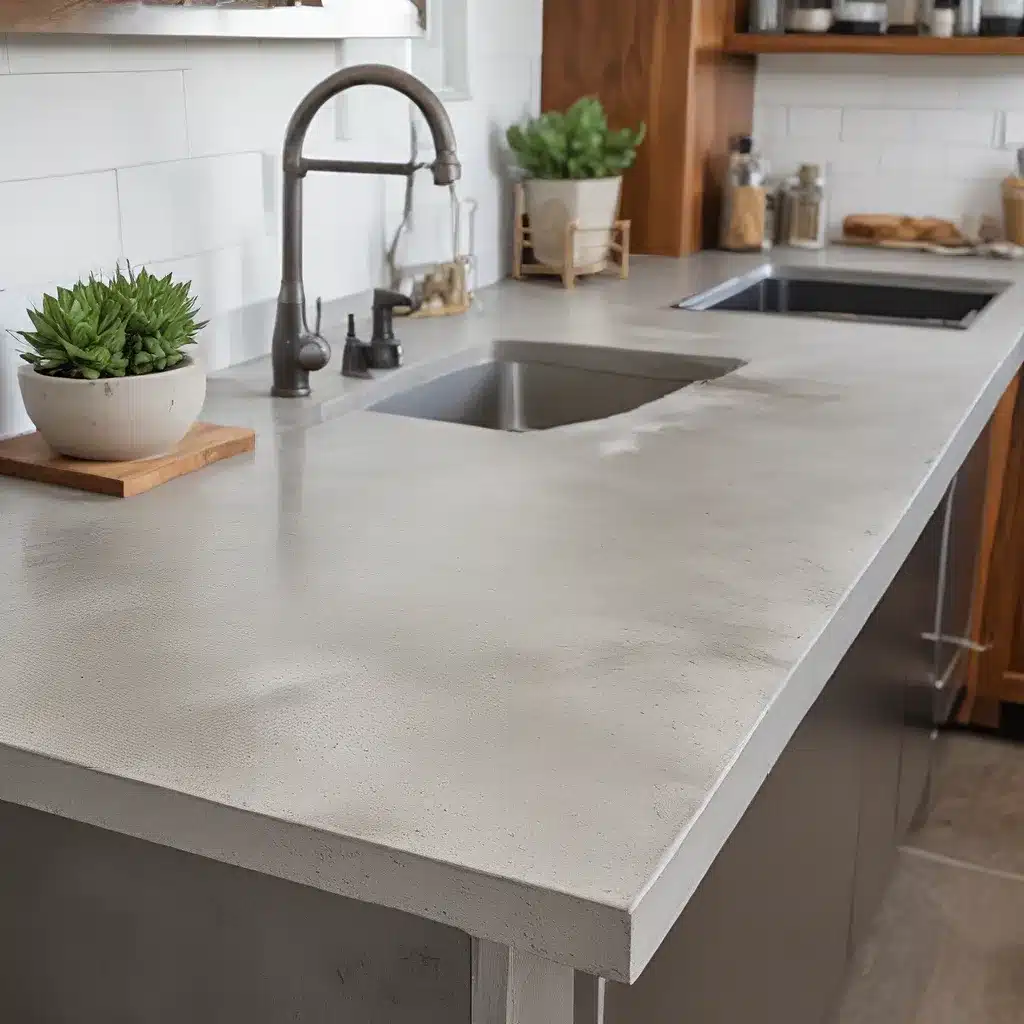
As I stood back and admired the finished product, I couldn’t believe my eyes. What had once been an intimidating, complex project had transformed into a stunning, durable countertop that fit my space perfectly. The subtle variations in the concrete’s color and the unique character of the material added an artisanal touch that no factory-produced surface could ever replicate.
I knew that with the proper care and maintenance, this countertop would last for years to come. And the best part? I had created it myself, with my own two hands. No longer was concrete an unattainable, professional-only material. Thanks to the guidance and products from Buddy Rhodes, I had proven that any DIY enthusiast can master the art of concrete countertops.
Sharing the Concrete Countertop Journey
As I reflect on my concrete countertop odyssey, I can’t help but feel a sense of pride and accomplishment. What started as a daunting challenge has become a testament to the power of determination and a willingness to learn. And now, I’m eager to share my experience with others who may be considering taking the plunge into the world of DIY concrete.
Whether you’re looking to upgrade your kitchen, spruce up a bathroom vanity, or create a one-of-a-kind piece for your home, I can confidently say that mastering concrete countertops is well within reach. With the right tools, products, and a bit of elbow grease, you too can transform your space with a durable, stylish surface that’s truly a reflection of your unique style.
So, what are you waiting for? It’s time to get your hands dirty and start your own concrete countertop journey. Who knows, you might just surprise yourself with what you can accomplish. And if you need any guidance along the way, you know where to find me – right here, ready to share the secrets of my concrete countertop mastery.
Related posts:
No related posts.


