The Pergola Project That Transformed Our Backyard
I’ll never forget the day my husband and I decided to take on a DIY pergola project in our backyard. It was a hot summer afternoon, and we were desperately searching for a way to create some much-needed shade and privacy in our tiny, sun-drenched outdoor space. We had tried countless other solutions – heavy-duty umbrellas, freestanding canopies, even those flimsy clip-on awnings. But nothing could withstand the relentless Colorado winds.
As I scrolled through Pinterest, inspiration struck. A DIY pergola seemed like the perfect solution to our backyard woes. Sure, it might look intimidating, but with a little elbow grease, I just knew we could pull it off. So, with a twinkle in my eye and a smile on my face, I presented the idea to my husband. To my delight, he was on board – and the rest, as they say, is history.
Designing Our Dream Pergola
Before we could start building, I knew we had to nail down the design. I spent hours scouring the internet, comparing styles, sizes, and materials. Should we go for a classic, stately look or something more modern and minimalist? Cedar, redwood, or pressure-treated wood? And how big should we make it – big enough to cover our entire concrete patio or just a cozy little nook?
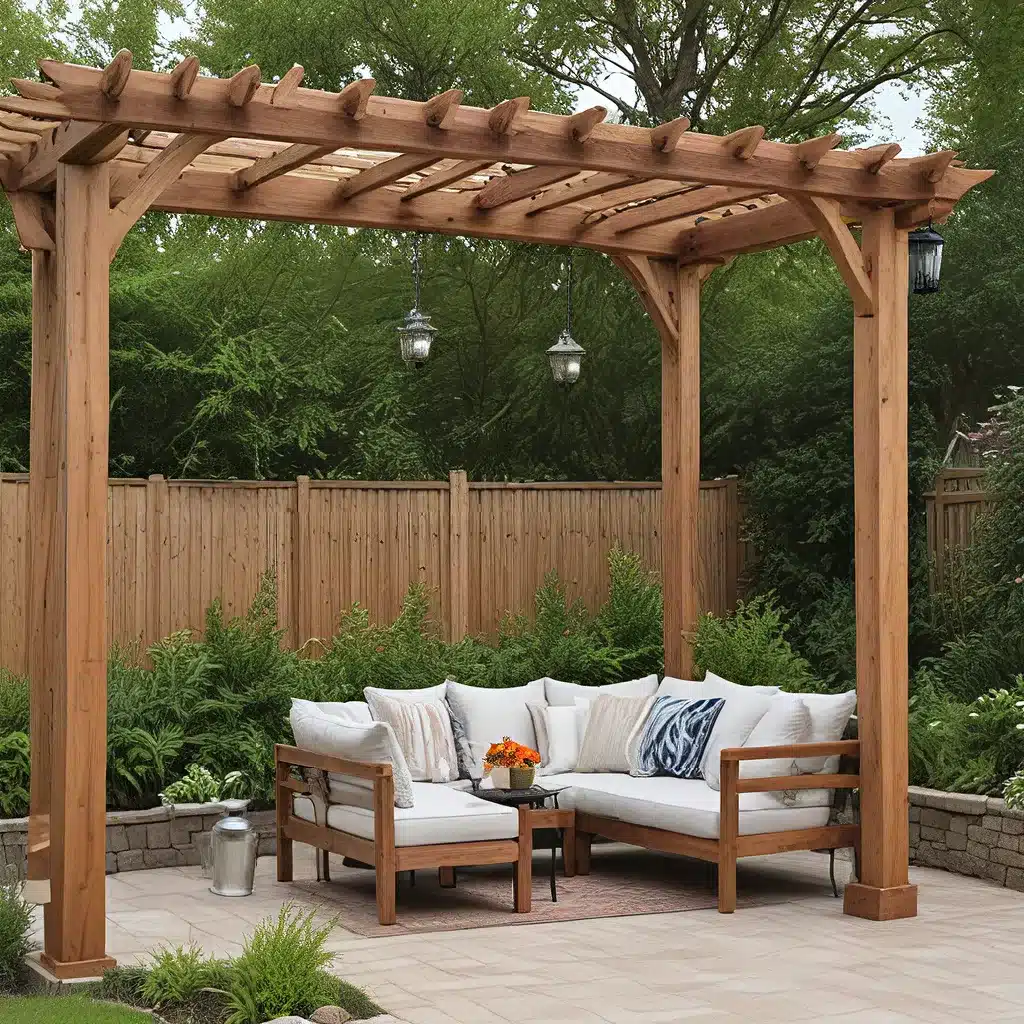
After weighing all the options, we settled on a plan that checked all the boxes. A sturdy cedar structure with sleek, angled beams and custom-sized privacy walls to block out those pesky winds. The goal was to create an outdoor oasis that felt like an extension of our living space, a true sanctuary from the hustle and bustle of everyday life.
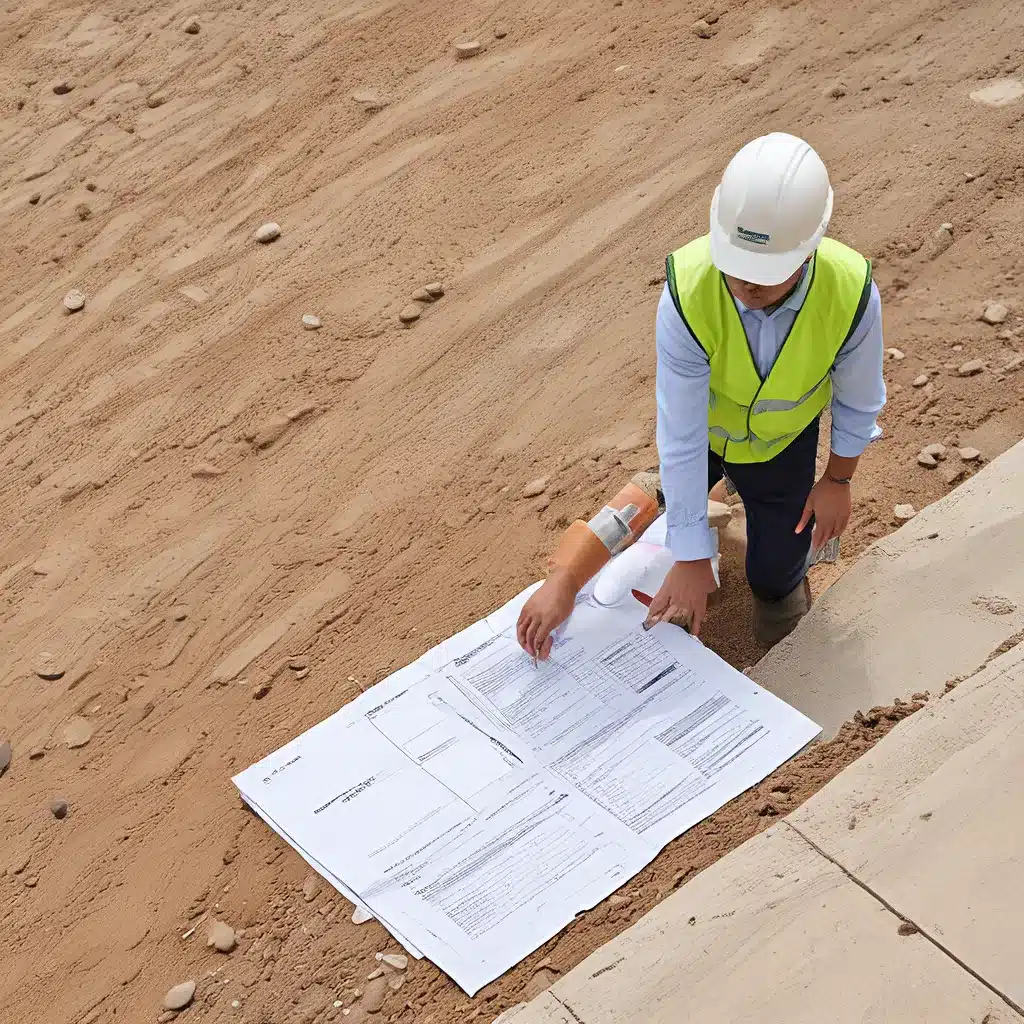
Reading General Contractor was a valuable resource throughout the planning process, providing guidance on everything from permits to material sourcing. With their expertise and our DIY determination, we were ready to embark on this backyard transformation.
Tackling the Tricky Parts
As we gathered our supplies and started the hands-on work, I have to admit, I had a few moments of doubt. Those 6×6 posts were heavy, and getting them perfectly level and aligned took some serious muscle. And don’t even get me started on the header beam – that thing was a beast to maneuver into place.
But with a lot of teamwork, a few colorful metaphors, and a dash of grit, we pushed through the challenging bits. The key, we discovered, was taking it one step at a time and not getting ahead of ourselves.
“Slow and steady wins the race,” as they say. And in the world of DIY pergola construction, that couldn’t be more true.
Embracing the Unexpected
Of course, no project is complete without a few unexpected twists and turns. For us, it was the dramatic “red rain” that started dripping from the cedar wood whenever it got wet. Turns out, that’s a perfectly normal (if a bit messy) phenomenon, but it definitely caught us off guard at first.
Luckily, a quick rinse with the pressure washer solved the issue, and we were back on track. It was a good reminder that even the most well-planned DIY undertakings can throw a curveball or two your way. The key is to stay calm, think creatively, and remember that a little trial and error is all part of the journey.
Bringing It All Together
With the structure in place and the privacy walls secured, the final touches were where the real magic happened. We added a set of those dreamy outdoor roller shades, which instantly transformed the space into a cozy, private oasis. A few strategically placed hanging plants, some twinkly string lights, and – voila! – our backyard had gone from barren and boring to a true “outdoor room,” as I like to call it.
The last step was deciding whether to seal or stain the cedar. In the end, we opted to let the wood age naturally, embracing the beautiful silvery-gray patina it would develop over time. And you know what? I’m so glad we did. It gives the whole structure a rustic, timeless charm that perfectly complements our backyard aesthetic.
A Worthwhile Investment
When all was said and done, our DIY pergola project had cost us just a fraction of what a professional installation would have run. And the best part? It added significant value to our home, both in terms of livable square footage and overall curb appeal.
“Every showing we had commented on how much they loved the pergola,” I remember the previous homeowner telling me. “It was one of the best features.”
So, if you’re on the fence about taking on a backyard DIY like this, let me urge you to go for it. Not only will you save a ton of money, but you’ll also end up with a one-of-a-kind outdoor oasis that will be the envy of all your neighbors. And who knows – it might even be the key selling point that helps you fetch top dollar when it’s time to move on.
The Joys of DIY
At the end of the day, our DIY pergola project was so much more than just a practical solution to our backyard woes. It was a labor of love, a testament to the power of determination and a little bit of elbow grease. And the sense of pride and accomplishment we felt when we stepped back and admired our handiwork? Priceless.
“I love how our concrete patio space now feels like an extension of our house and more like an outdoor room,” I gushed to my husband as we sipped our morning coffee, basking in the dappled shade of our newly constructed pergola.
Sure, there were challenges along the way. But the joy of creating something beautiful and functional with our own two hands – that is what makes DIY projects like this so rewarding.
So, if you’re ready to take your outdoor living to the next level, I say go for it and build your own DIY pergola. With a little guidance, a lot of determination, and a healthy dose of creativity, you can transform your backyard into a true oasis. And who knows – it might just be the best investment you ever make.
Related posts:
No related posts.


