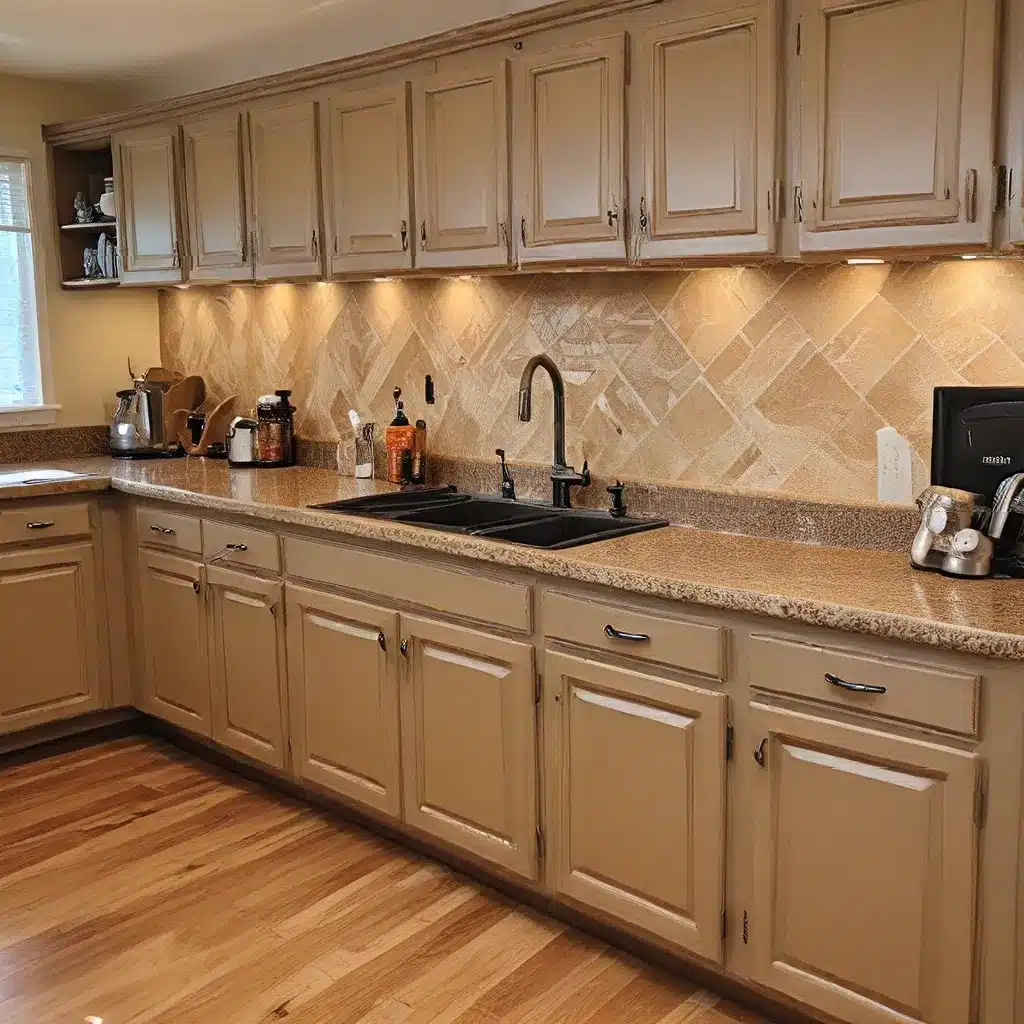
Customizing Kitchen Cabinets: DIY Refinishing Techniques
Unlocking the Power of DIY: Transforming Your Kitchen Cabinets
Ah, the kitchen cabinets – those sturdy sentinels that hold our culinary treasures, silently witnessing the ebb and flow of our daily lives. But what if I told you that these unsung heroes can be more than just functional storage? What if I shared a secret that could breathe new life into your kitchen, without breaking the bank?
Welcome to the world of DIY cabinet refinishing – where the power of a paintbrush and a little elbow grease can transform your space from mundane to magnificent. Buckle up, my friends, because we’re about to embark on a journey that will have your kitchen cabinets looking like a million bucks.
The Art of Preparation: Laying the Groundwork for Success
Now, I know what you’re thinking: “Painting cabinets? That sounds like a daunting task!” But fear not, my fellow DIY enthusiasts, for with the right approach, it’s a project that even the most novice of handymen can tackle. The key lies in the preparation – and trust me, it’s worth the effort.
First things first, let’s talk about sanding. I know, I know, it’s not the most glamorous step, but it’s crucial for ensuring a smooth, professional-looking finish. Don’t worry, you don’t need to sand the entire cabinet down to bare wood – a light scuff with some 120-grit sandpaper will do the trick. This will help the new paint adhere like a dream. And don’t forget to wipe away any dust or debris before moving on to the next step.
Priming and Painting: The Dynamic Duo
Now, here’s where the magic happens. Grab your trusty paint roller and let’s get to work. But wait, before you start slapping on that color, let’s talk about primer. Sure, you could skip this step, but trust me, it’s worth the extra effort. A good primer will help the paint grip onto the surface, ensuring a long-lasting, chip-resistant finish.
When it comes to the paint, I always recommend using a high-quality cabinet-grade enamel, like Sherwin-Williams Emerald Urethane Trim Enamel. This stuff is like liquid gold – it levels out beautifully, leaving no brush strokes or roller marks in sight. And the best part? It dries to a hard, durable finish that’s perfect for high-traffic areas like the kitchen.
The Finishing Touch: Hardware Swap
Alright, now that your cabinets are looking fresh and fabulous, it’s time to add the crowning jewel – the hardware. Let’s be real, those old knobs and pulls can really make or break the whole look. So, why not give them a little upgrade?
Think about it – new hardware is like the perfect accessory for your kitchen cabinets. It’s the icing on the cake, the cherry on top. And the best part? It’s a relatively inexpensive way to completely transform the overall aesthetic. Whether you’re going for a sleek and modern vibe or a rustic farmhouse feel, the right hardware can make all the difference.
The Reveal: A Kitchen Transformed
So, there you have it, folks – the secret to unlocking the potential of your kitchen cabinets. With a little elbow grease, some high-quality paints and primers, and a touch of stylish hardware, you can turn your tired, outdated cabinets into the envy of the neighborhood.
Imagine the looks on your friends’ faces when they come over and see your freshly refinished kitchen. They’ll be asking, “Did you get new cabinets?” and you can proudly proclaim, “Nope, just a little DIY magic!” Sit back, sip your coffee, and bask in the glory of your newly transformed space.
Remember, the key to a successful cabinet refinishing project is in the preparation and attention to detail. Take your time, follow the steps, and trust the process. Before you know it, your kitchen will be a shining example of what a little DIY can accomplish.
So, what are you waiting for? Grab your paintbrushes, roll up your sleeves, and let’s get to work. Your dream kitchen is just a few brush strokes away!
Related posts:
No related posts.


