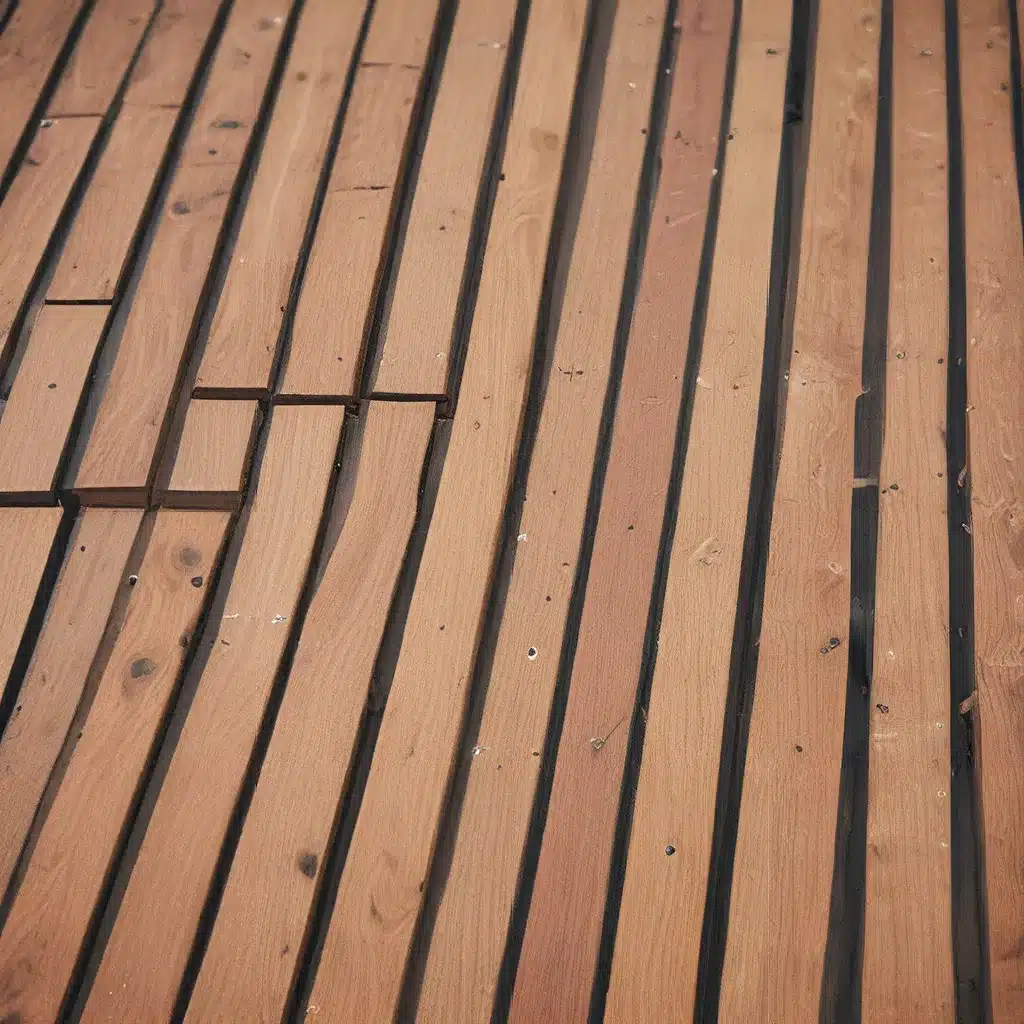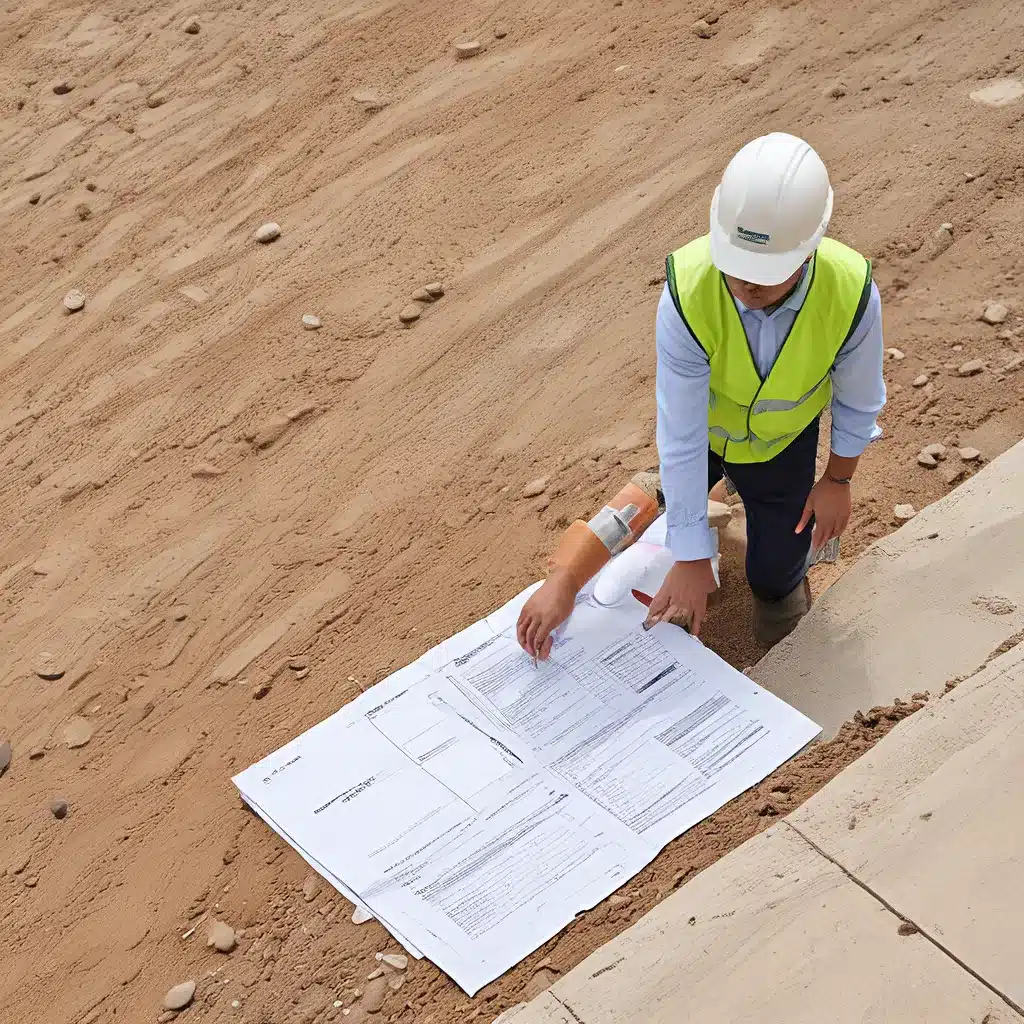
Ah, the sweet smell of freshly-sanded wood and the satisfying thud of a hammer driving in a nail – there’s nothing quite like the feeling of tackling a DIY decking project, is there? As someone who’s been there, done that, and proudly displayed the finished product, I can say with certainty that building your own deck is one of the most rewarding (and sometimes frustrating) home improvement tasks you can undertake.
The Allure of DIY Decking
Now, I know what you might be thinking – “DIY decking? Isn’t that way too complex for a weekend warrior like me?” Well, my friend, let me tell you, with the right knowledge and a little elbow grease, even a complete novice can master the art of deck-building. It’s all about breaking it down into manageable steps and being prepared for the inevitable hiccups along the way.
You see, when I first decided to build my own deck, I’ll admit, I was a bit intimidated. I mean, there’s so much to consider – the type of wood, the design, the layout, the hardware, and the list goes on. But then I realized that with a solid plan and a willingness to learn, I could conquer this challenge and end up with a stunning outdoor oasis that would be the envy of all my neighbors.
And let me tell you, the sense of accomplishment I felt when I stood back and admired my handiwork was truly priceless. It’s the kind of feeling you just can’t get from hiring a contractor to do the job for you. There’s something about putting in the sweat equity and seeing your vision come to life that’s just so incredibly satisfying.
Planning Your DIY Deck
Now, before you grab your tool belt and start hammering away, it’s important to have a solid plan in place. After all, this isn’t just about throwing some wood together and calling it a day – you want to end up with a deck that’s not only structurally sound but also aesthetically pleasing.
The first step is to measure your space and decide on the size and shape of your deck. This will dictate the type and amount of materials you’ll need, as well as the overall layout.
Next, you’ll want to choose the right type of wood for your project. Now, I know what you’re thinking – “Wood is wood, right?” Wrong, my friend. There are actually a variety of species to choose from, each with its own unique properties and price points. For example, pressure-treated pine is a popular and affordable option, while cedar and redwood offer a more natural, luxurious look (and a heftier price tag to match).
Once you’ve nailed down the basics, it’s time to start planning the design. Do you want a simple rectangular deck, or are you feeling adventurous and want to incorporate some curves and angles? Maybe you’re envisioning a multi-level structure with built-in benches or a pergola. The possibilities are endless, but it’s important to have a clear picture in your mind (or on paper) before you start building.
Gathering the Necessary Tools and Materials
Alright, now that you’ve got your plan in place, it’s time to start assembling your toolkit. And trust me, you’re going to need more than just a hammer and a few nails.
At a minimum, you’ll want to have the following:
– Circular saw or miter saw
– Power drill
– Screwdrivers (both flat and Phillips head)
– Tape measure
– Level
– Clamps
– Hammer
– Safety gear (goggles, gloves, etc.)
And that’s just the basics! Depending on the complexity of your design, you might also need things like a jigsaw, a post-hole digger, and a concrete mixer. It’s always better to have too many tools on hand than to find yourself halfway through the project, realizing you’re missing a crucial piece of equipment.
As for the materials, well, that’s where things can get a little tricky. You’ll need to factor in the size of your deck, the type of wood you’ve chosen, and any additional features or accessories you plan to incorporate. And don’t forget about the hardware – screws, nails, brackets, and the like. It’s a good idea to overestimate your needs a bit, just in case you run into any unexpected challenges along the way.
Laying the Foundation
Alright, now that you’ve got your plan and your materials, it’s time to get to work. And let me tell you, the most crucial part of any deck-building project is the foundation. If you don’t get this right, the whole thing is going to be a disaster waiting to happen.
The first step is to mark out the perimeter of your deck and dig the post holes. This is where that post-hole digger is going to come in handy. You’ll want to make sure the holes are deep enough (typically 24-36 inches) and that they’re spaced evenly to support the weight of the structure.
Once the holes are dug, it’s time to pour the concrete and set the posts. This is where things can get a little tricky, as you’ll need to make sure the posts are perfectly level and aligned. I can’t tell you how many times I’ve had to re-do this step because I didn’t take the time to get it just right.
With the posts in place, it’s time to add the beams and the joists. This is where your tape measure and level are going to come in handy, as you’ll need to make sure everything is perfectly spaced and level. Trust me, a wobbly deck is not the look you’re going for.
Bringing It All Together
Alright, now that the foundation is rock-solid, it’s time to start adding the deck boards. This is where the real fun (and sometimes frustration) begins.
Remember how I said you should have a circular saw or miter saw on hand? Well, this is where they come into play. You’ll need to precisely cut the boards to size, making sure they fit together seamlessly. And let me tell you, it’s not as easy as it sounds – there’s a lot of measuring, cutting, and re-measuring involved.
Once the boards are in place, it’s time to start securing them with screws or nails. This is where that power drill and those clamps are going to come in handy. You’ll want to make sure the boards are firmly attached to the joists, with no gaps or uneven edges.
And don’t forget about the railings! These are an essential safety feature, but they can also really elevate the overall look of your deck. Again, it’s all about precision – you’ll need to measure, cut, and install the posts and rails with care to ensure a sturdy and visually-appealing result.
Finishing Touches and Maintenance
Alright, you’ve done it! Your DIY deck is complete, and you’re probably feeling a mix of pride, exhaustion, and maybe a little bit of disbelief. But before you kick back and enjoy your handiwork, there’s one more step to consider: the finishing touches.
Depending on the look you’re going for, you might want to stain or seal the wood to protect it from the elements. This is an important step, as it can help extend the life of your deck and keep it looking its best. And don’t forget about adding any additional features, like built-in benches, planters, or even a fancy pergola.
Now, I know what you’re thinking – “Wow, this all sounds like a lot of work!” And you’re not wrong. Building a deck from scratch is no easy feat, but the payoff is so worth it. Just imagine how amazing it’s going to feel to host your first backyard barbecue or cozy up with a good book on your brand-new deck.
And the best part? Once you’ve got the foundation in place, maintaining your deck is a breeze. A quick sweep, a bit of staining or sealing every few years, and you’re good to go. So go ahead, embrace your inner DIY spirit, and get to work on creating the outdoor oasis of your dreams. Trust me, you won’t regret it.
Related posts:
No related posts.


