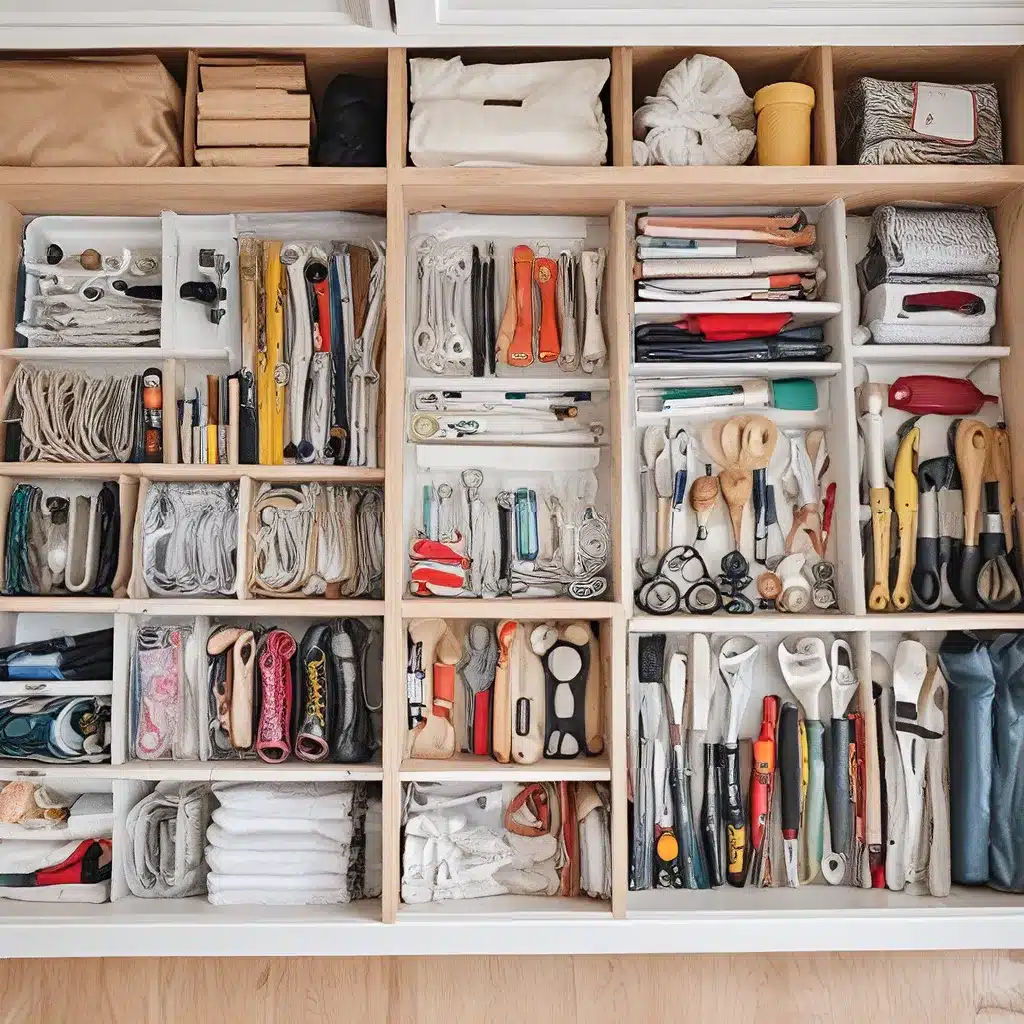
Tackling the Dreaded Storage Room
I have a confession to make… our storage room has gotten completely out of control over the past couple of years. It’s become the dumping ground for everything we don’t know what to do with – from tools and toys to batteries and old workout equipment. In fact, you could barely even walk through the space lately. Yikes!
I first shared a glimpse of this cluttered storage room about two years ago, when I showcased our new tool organization system. Little did I know, that was just the calm before the storm. Since then, we’ve had another child and I’ve taken on countless DIY projects, so the mess has only continued to accumulate. During those projects, I was constantly coming in here, grabbing supplies, and haphazardly putting things back – not a good system by any means.
I know I’m not alone in having a garage or storage room that needs a good purge. It’s just so easy for these out-of-sight spaces to become a dumping ground over time. We have this big storage room and crawl space, so we would just put stuff in here even though we didn’t actually need all of it. Even though this space is out of sight, having a bunch of stuff and clutter can really weigh on you. And the worst part is when you actually need something that you’ve been holding onto and you can’t find it.
The Decluttering Process
If this sounds all-too-familiar, I hope you’ll learn a thing or two from my recent storage room overhaul and apply it to your own home. First, I think it’s important to set aside dedicated time to tackle this big project. I blocked out a solid four hours in my work day to focus solely on our storage room. Spoiler alert – I ended up needing a few more hours to finish it, but it was important to carve out that initial chunk of time.
Put the project in your calendar, wear comfortable clothes that you don’t mind getting a little dirty, and put on some music or podcasts to liven things up. I found that listening to tunes and audiobooks throughout my afternoon of decluttering really helped the time fly by and kept me motivated.
When I first walked into our storage room, I was honestly overwhelmed. There was just so much stuff, I didn’t even know where to begin. I decided to start with my tools and project supplies since they were scattered throughout the entire space. I walked around and brought them all to one area, where I could go through everything bin by bin.
I tossed old supplies, added extra tools to my donate piles, and did my best to sort each item into categories. Because I do so many DIY projects, I’ve accumulated a lot of random supplies over the years. During my most recent bathroom renovation, I was having so much trouble finding certain tools that I knew I owned. It felt so good to get everything organized, so that I won’t run into that same problem for my next project.
The Keep, Toss, and Donate Piles
As for figuring out what to keep and what to throw away, I tried to be pretty ruthless. Just because you have the space doesn’t mean you should hold onto everything. I know, I know – I’m going all Marie Kondo on you. But it’s true – clutter can really weigh on you, and it certainly does for me. Just knowing that our storage room was a mess gave me anxiety every time I walked into the basement, even with the door closed.
I made a conscious effort to really think through each item and ask myself if I needed it, if I regularly used it, and if it was something that made me happy. Don’t hold onto stuff just because. I know from experience that it can be really hard to part with certain items, especially sentimental ones. Four years ago, while living in our old condo, we had a pipe freeze at our storage unit and all of our possessions were ruined. We were forced to get rid of a majority of our childhood treasures. Now, we each have only one or two small plastic bins with pictures and yearbooks that we were able to salvage.
Luckily, with our most recent flood, those bins were up high on a shelf and in plastic containers, so they didn’t see any water damage. Just be thoughtful about the stuff that is really important to you. I recommend using plastic containers with lids and strategic placements within your home to keep those sentimental items safe.
As I went through the storage room, I created four main piles: Donate, Trash, Sell, and Keep. The Donate and Sell piles started to get pretty sizeable, so I made a point to load them up and get them out of the house right away. I didn’t want those piles to just sit there, taking up space for the next month.
I was able to make about $350 from selling some baby and home items on Facebook Marketplace that were just collecting dust in our storage room. And the rest went straight to my local Habitat for Humanity ReStore.
Organizing the Remaining Items
As for the items that made it into the “Keep” pile, I tried my best to put them back in an organized manner. These shelves were actually left by the previous owners, and we’ve used them since day one. When you have shelves like these, it’s important to measure them and find containers that will maximize the space.
We like these clear bins because we can get a peek at the contents inside, and they fill the space perfectly. However, I always recommend waiting until you’re finished decluttering your storage room before you go out and buy new organization products. Declutter first and organize second – that’s my motto.
One tricky category for me was the used needles from my pregnancies. We had a large plastic bin filled with thousands of them, and they’ve just been sitting there because we never took the time to figure out the proper and safe way to dispose of them. Well, I finally had the emotional bandwidth to tackle this task. I found a helpful website that outlined the best disposal methods for my area, and I was able to get those pesky needles out of the house for good.
Paint was another category that required some research. I’ve gone through so many cans of paint over the years, and I had quite a few gallons to dispose of. I consulted my city’s guidelines and ended up drying up the paint with kitty litter before tossing it. The final category that took some digging was building materials – I had extra tile, lumber, and tools, and I wasn’t sure the best place to donate those items. I ended up bringing a carload to my local Habitat for Humanity ReStore.
The Final Result
Is our storage room the most glamorous space in the world? Absolutely not. I have mismatched bins, no labels in sight, and things are not picture-perfect. But it’s 10 times better than it was, and you can actually walk through the space now. The top of our tool storage bench hasn’t been clear in months, so it was nice to finally get that space back.
There are still a few random cords and cables that we need to tidy up, and I’d love to add another storage piece for the tool area to hold more items. I also want to break out the trusty label maker and go to town on a few of the bins. You know it’s the little stuff like that which can make our lives so much easier.
All in all, I’m just so relieved to have this project crossed off my list. Tackling that storage room was no easy feat, but I feel like a weight has been lifted. My only regret is not doing it sooner! If you’re feeling overwhelmed by the clutter in your own home, I encourage you to set aside some time and get after it. Trust me, your future self will thank you.
Now, if you’ll excuse me, I’m off to enjoy my newly-decluttered storage room. And who knows, maybe I’ll even find that tool I’ve been searching for all these years! Happy decluttering, friends.
Related posts:
No related posts.


