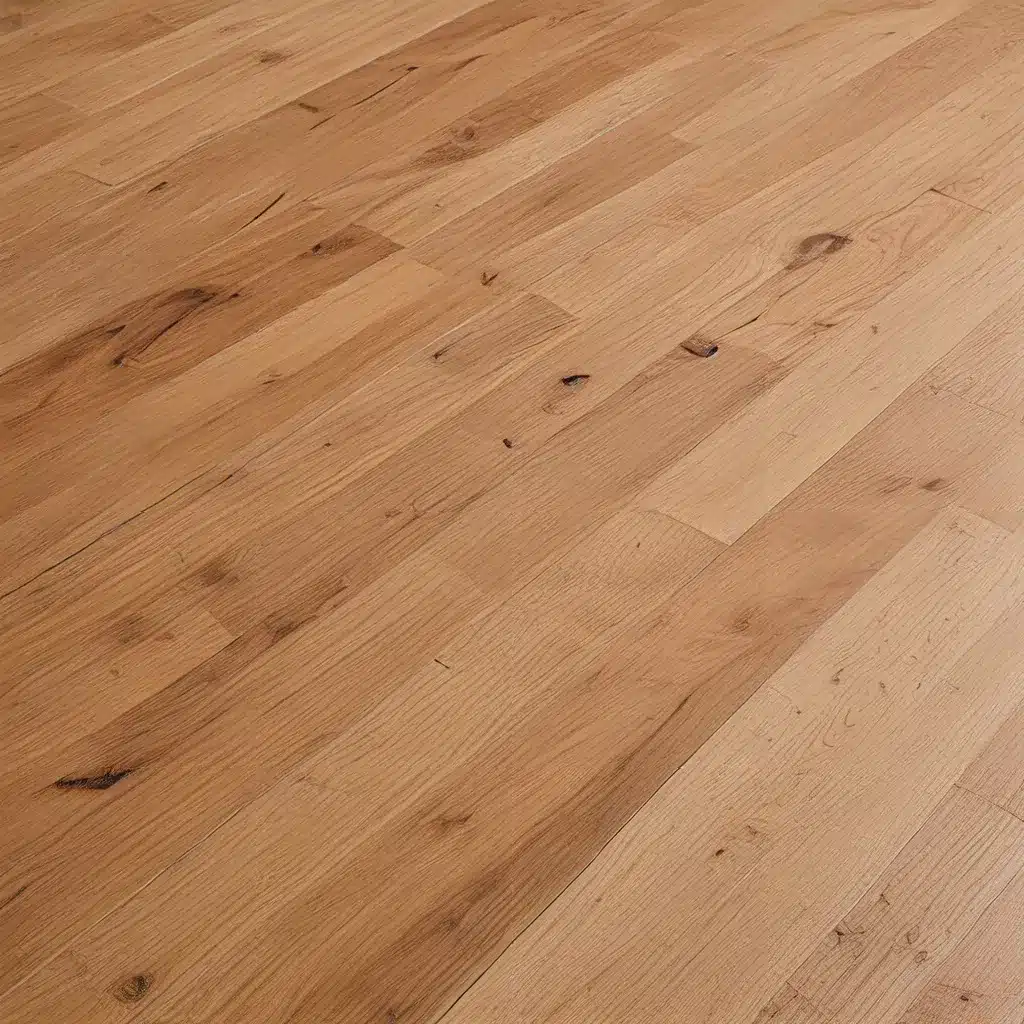
The Unsung Heroes Underfoot
Think about it – our floors are the unsung heroes of our homes. They withstand the daily grind of muddy shoes, spilled drinks, and the pitter-patter of paws, yet we often take them for granted. That is, until they start looking a little worse for wear. Well, my friends, it’s time to change that.
You see, I used to be just like you – neglecting my floors and assuming a quick sweep or mopping would do the trick. But then I had a bit of a wake-up call at our cabin in Pinetop. The engineered wood floors adjacent to the front door were looking tired and lost their luster. That’s when I realized I needed to up my floor maintenance game, for the sake of preserving the beauty and longevity of our home.
Hardwood Floor Fundamentals
Before we dive into the nitty-gritty of floor cleaning, let’s start with the basics. Hardwood floors come in two main varieties – solid and engineered. Solid hardwood is, well, a single piece of wood, while engineered hardwood has multiple layers. This difference affects how you clean and maintain them.
Solid hardwood can be sanded and refinished, whereas engineered hardwood is more resistant to moisture but has a thinner wear layer. Additionally, the type of finish on your floors – whether it’s polyurethane, oil-based, or wax – will determine the best cleaning products to use.
Knowing the specifics of your floors is crucial for effective maintenance. After all, you wouldn’t want to use a harsh cleaner on a delicate, oil-based finish, right? Taking the time to understand your floors is the first step to keeping them looking their best.
The Deep Clean Dilemma
Now, I know what you’re thinking – “But Mary, I already sweep and mop my floors regularly. Why do I need to do a deep clean?” Well, my friends, regular maintenance is just the tip of the iceberg when it comes to preserving the beauty of your hardwood floors.
Over time, dirt, grime, and even pet hair can become deeply embedded in the wood, dulling the shine and causing damage. That’s where a deep clean comes in. This thorough process is like a spa treatment for your floors, restoring their luster and protecting their longevity.
The Right Tools for the Job
Before you start scrubbing away, it’s essential to have the right tools and materials on hand. Proper tools ensure the effective removal of dirt and grime without causing any damage.
Your deep cleaning arsenal should include:
– Soft-bristle broom or vacuum with hardwood floor attachment
– Microfiber mop
– Hardwood floor-safe cleaner (more on that later)
– Scrub brush or sponge
– Towels for drying
With these tools at the ready, you’ll be well on your way to achieving a professional-level deep clean.
Cleaning Solutions: Natural vs. Readymade
Now, when it comes to cleaning solutions, you have two main options: natural or readymade.
| Natural Cleaners | Readymade Cleaners |
|---|---|
| Made from simple ingredients like vinegar, baking soda, and essential oils | Commercially produced formulas designed specifically for hardwood floors |
| Gentle on floors and the environment | Often include additional benefits like scratch-filling or shine-enhancing properties |
| May require more elbow grease to effectively clean | Typically easier to use and more efficient at removing stubborn dirt and grime |
Personally, I’m a big fan of the Bona Hardwood Floor Cleaner. It’s a water-based formula that dries fast, leaves no residue, and is safe for people, pets, and the planet. Plus, it’s Safer Choice Certified by the EPA, so I can feel good about using it in my home.
But if you prefer a more natural approach, a simple vinegar and water solution can also work wonders. Just be sure to test it on a small, inconspicuous area first to ensure it won’t damage your floor’s finish.
The Deep Clean Process
Alright, now that you’ve got your tools and cleaning solutions ready, it’s time to tackle the deep clean. Follow these steps for the best results:
- Prepare the floor: Clear the room of furniture and other obstacles to give you a clear workspace.
- Remove loose dirt: Sweep or vacuum the floor to pick up any surface-level debris.
- Spot clean: Use a scrub brush or sponge to target any stubborn stains or heavily soiled areas.
- Mop it up: Apply your chosen cleaning solution to the floor and use a microfiber mop to work it in. Be sure to rinse the mop head frequently to avoid spreading dirt.
- Dry thoroughly: Allow the floor to air dry completely before replacing furniture or walking on it. You can use fans or open windows to speed up the process.
Proper drying is crucial to prevent water damage and maintain the appearance of your hardwood floors. Take your time with this step – rushing it could lead to unsightly water spots or warping.
Restoring Minor Damage
Even with the best maintenance routine, your hardwood floors may still accumulate the occasional scratch or scuff. But don’t worry, there’s a solution for that too!
Wood touch-up markers are a quick and easy way to fix minor scratches. Just find a marker that matches the color of your floors, apply it to the affected area, and you’re good to go.
For deeper scratches, you may need to sand the area and apply a matching wood filler before refinishing. This is a more involved process, but it can breathe new life into tired-looking floors.
The Benefits of Professional Care
While I’m a firm believer in the power of DIY, there are some instances where calling in the pros is the way to go. Hardwood floor maintenance and restoration services can be especially beneficial in a few key scenarios:
- Stubborn Stains or Damage: If your floors have suffered significant water damage, deep stains, or extensive scratches, a professional cleaning and refinishing service may be the best solution.
- Older or Neglected Floors: Over time, even the most well-maintained hardwood floors can start to show their age. Professionals have the expertise and equipment to breathe new life into tired-looking floors.
- Specialized Cleaning Needs: Some floors, like hand-painted tile or exotic hardwoods, require extra care and attention. Hiring a pro ensures your floors are cleaned and preserved properly.
Don’t be afraid to reach out for help when you need it. Your floors will thank you!
Protect and Preserve
Now that you’ve mastered the art of deep cleaning, it’s time to talk about preventative maintenance. After all, the key to keeping your hardwood floors looking their best is to avoid damage in the first place.
Implement these measures to prevent damage and extend the lifespan of your hardwood floors:
- Control Humidity Levels: Fluctuations in humidity can cause wood to expand, contract, and warp. Use a dehumidifier or air conditioner to maintain a consistent indoor environment.
- Avoid Harsh Cleaners: Steer clear of harsh chemicals, abrasives, and oil-based products, which can strip the finish and damage the wood.
- Follow Manufacturer’s Instructions: Each type of hardwood floor has unique care requirements. Always refer to the manufacturer’s recommendations for cleaning solutions and maintenance routines.
- Lay Down Area Rugs: In high-traffic areas, strategically placed rugs can help protect your floors from excessive wear and tear.
By taking these proactive steps, you can keep your hardwood floors looking their absolute best for years to come.
Hardwood Floor Harmony
Maintaining pristine hardwood floors may seem like a daunting task, but with the right tools, techniques, and a little elbow grease, you can preserve the beauty of your home’s unsung heroes.
Remember, your local general contractor is always here to help if you need any assistance with hardwood floor maintenance, restoration, or even a full-blown replacement. Together, we can ensure your floors remain the shining stars they were always meant to be.
So, what are you waiting for? It’s time to roll up your sleeves and get to work on those hardwood floors. Your home – and your feet – will thank you.
Related posts:
No related posts.


